INSTALLATION BASICS
We understand that installing a multi-camera security system may
seem intimidating to some at first. However, all of our systems are
designed to be plug and play meaning they are easy to setup. Our
simple step-by-step guide will lead you through the entire set up. If
you need additional support we are here to help answer any
questions. Just shoot us an email or give us a call.
 |
 |
 |
FAQ’S
1 – HOW TO POSITION CAMERAS ON AREAS YOU WANT TO MONITOR
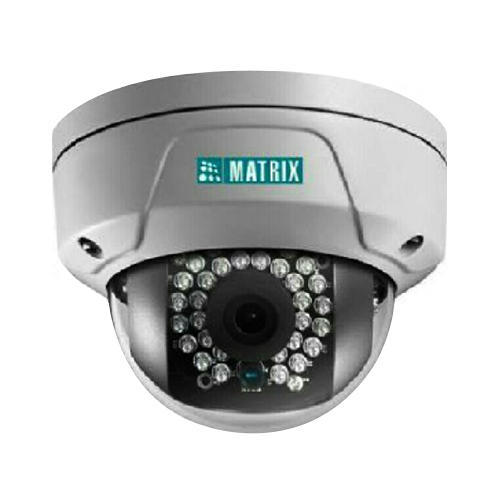
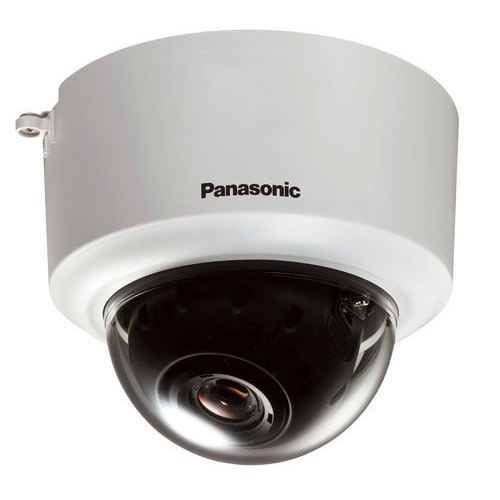
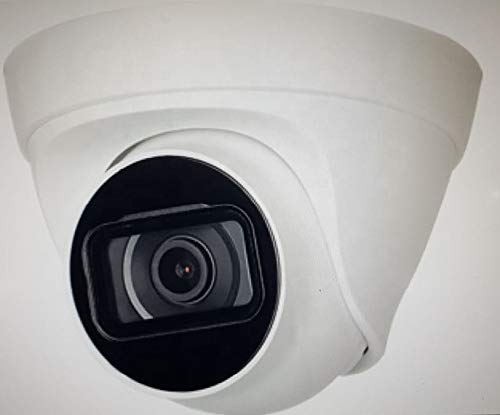
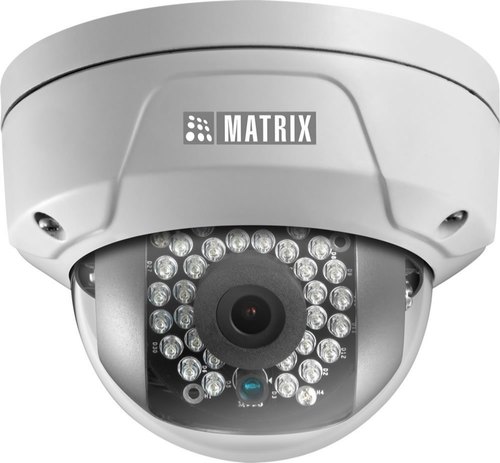
Bullet and dome style cameras often have the same performance. Customers often use
dome style housing for cameras that are mounted low since they have a vandal-resistant
design. Simply detach the lid from the base of the dome to mount the camera and position the lens, and then re-attach the lid to secure.
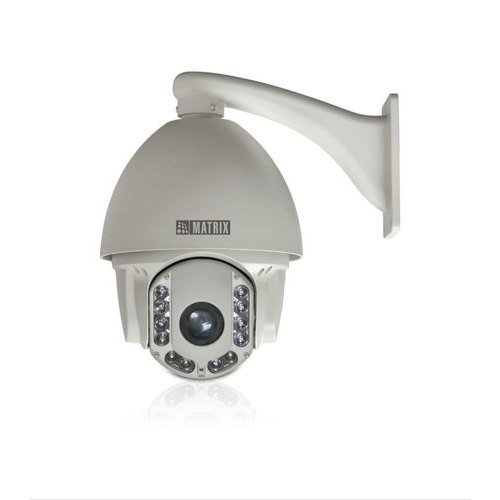
Many customers choose the bullet style for cameras that are out of reach or up high since
they can be easily mounted by securing 3 screws located at the bottom of the mounting
bracket. All of the IP cameras that we offer are fully weatherproof for indoor or outdoor
use.
The size of the camera lens will determine its viewing angle. A majority of the cameras we
sell have a 2.8mm fixed wide-angle lens that will produce a 110 degree super wide-angle
which is good for covering the entire immediate perimeter. You may require 2 of the
wide-angle cameras to cover the entire front yard of an average size single family home.
Customers like wide-angle CCTV security cameras because they offer the most “bang for
the buck”. However, if you need to focus on an object that is much farther away then you
will require a more powerful lens such as 8mm, 12mm, or even a 50mm or 100mm lens for
good close-up detail of objects that are over 100ft or even 200ft away. Many of the more expensive cameras offer a varifocal or motorized adjustable lens so that you can achieve the perfect angle.
 |
 |
 |
 |
 |
 |
2 – HOW TO RUN YOUR CABLES
Each IP camera is simply connected to the NVR using CAT5e or CAT6 ethernet cable. All of
our IP cameras are PoE (Power over Ethernet) meaning that both power and video are
transmitted over a single cable for very simple installation. Standard IP cameras can be
run up to 325ft. However, our SureVision systems include “extended” PoE meaning that
they can transmit both power and video over 800ft using a pure copper ethernet cable.
We offer repeaters and switches for customers who require farther cabling distance.
Any contractor, handyman or electrician can help you run cable if you do not want to or are
unable do it yourself. Also, we may be able to refer you to some professional installers in your area.
We do not offer wireless cameras due to limitations in transmission and performance. We
do not offer battery-powered cameras because they need to be recharged, making them
less reliable. If you operate a business or have a multi-camera home setup, it’s much better
to buy a professional CCTV security system.
 |
+ | + | 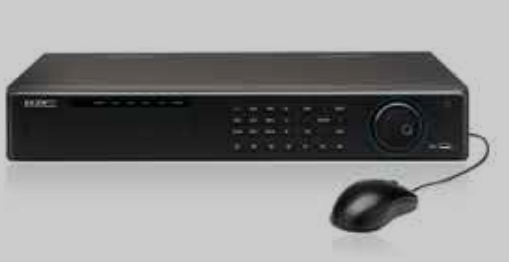 |
3 – HOW TO TURN ON AND SET UP YOUR RECORDER
Once you power-up your recorder it will be set for continuous 24/7 recording by default.
Simply follow the start-up menu or step-by-step guide for motion detection, playback features and remote viewing using your phone, computer or tablet.
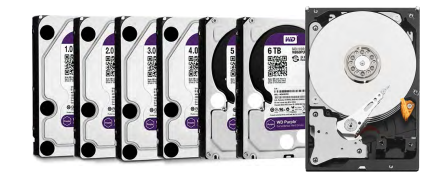
The size of the hard drive inside the recorder determines how many days you can store
camera footage. For example, a 4 camera system with a 1TB hard drive will record continuous video at 4MP high definition for up to 7 days. An 8 camera system with 2TB can also
record continuous video at 4MP high definition for up to 7 days. An 8MP (4K) camera will
require double the hard drive space for the same amount of video storage time. Many of
the recorders we carry have space for multiple hard drives so you can add more storage as needed.
 |
|